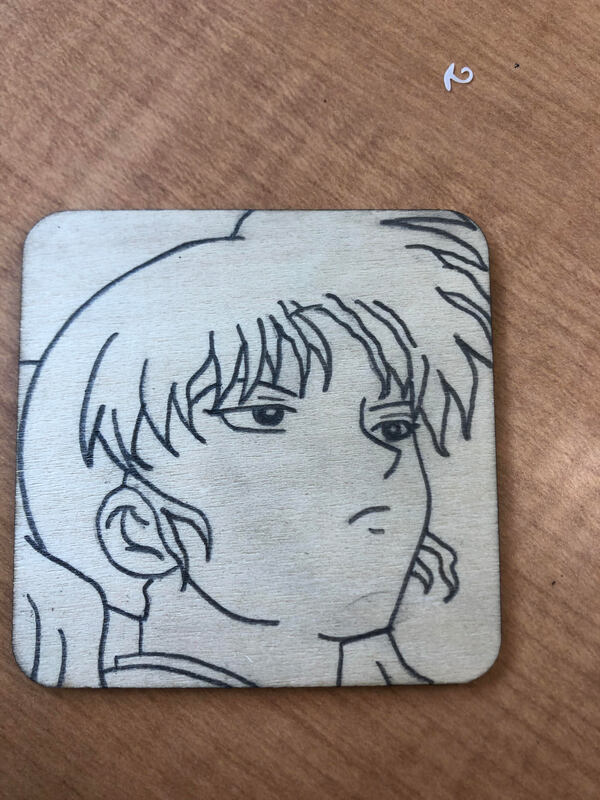
Finished Sgraffito/Figurative Piece: (Backup Piece) Japanese Male WoodBurning
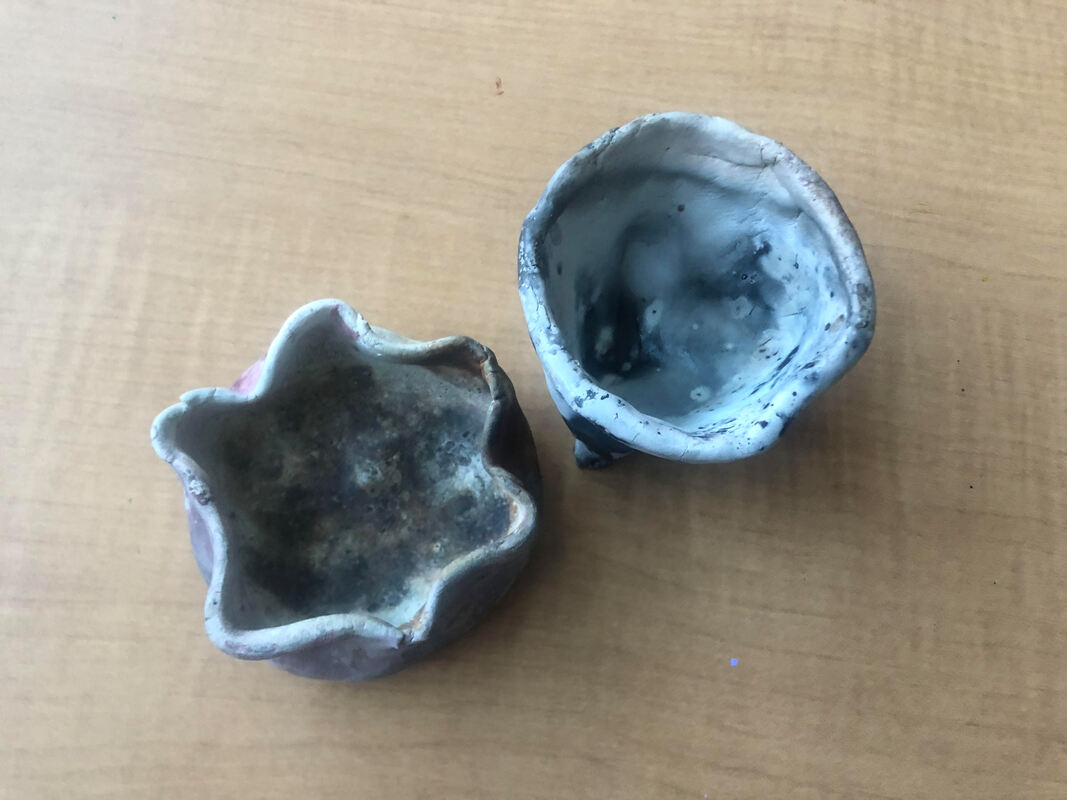
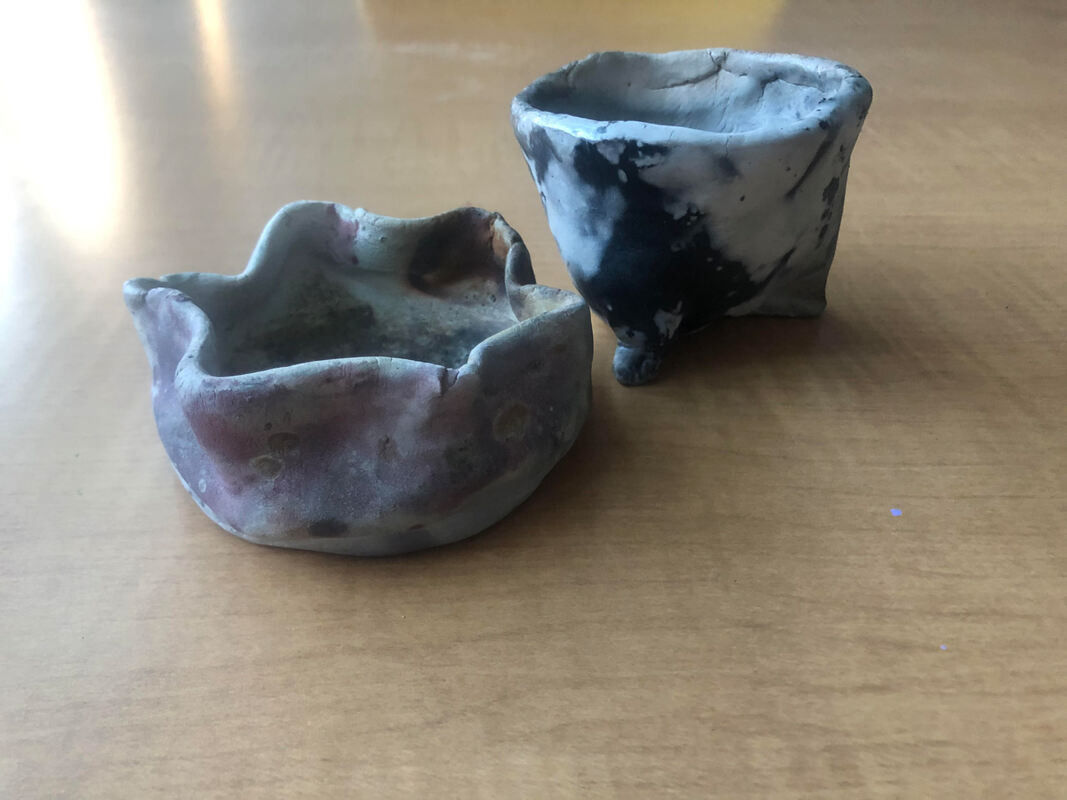
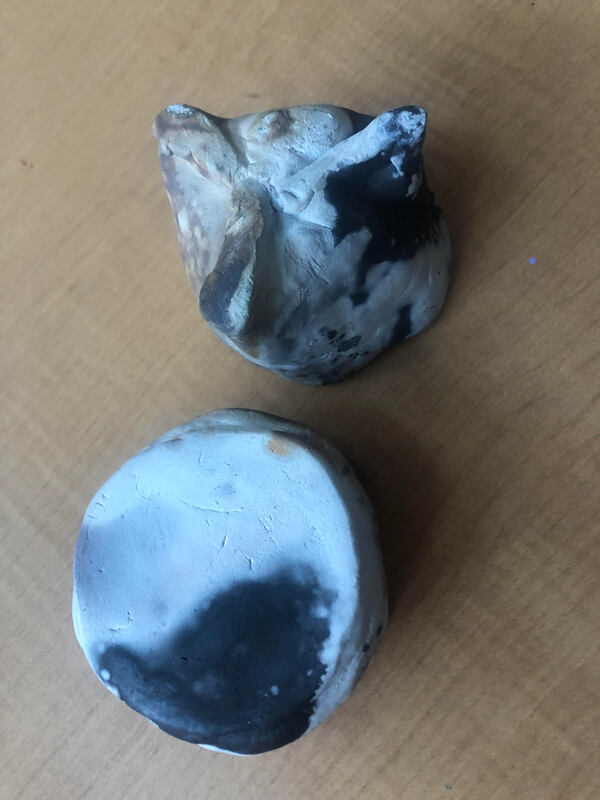
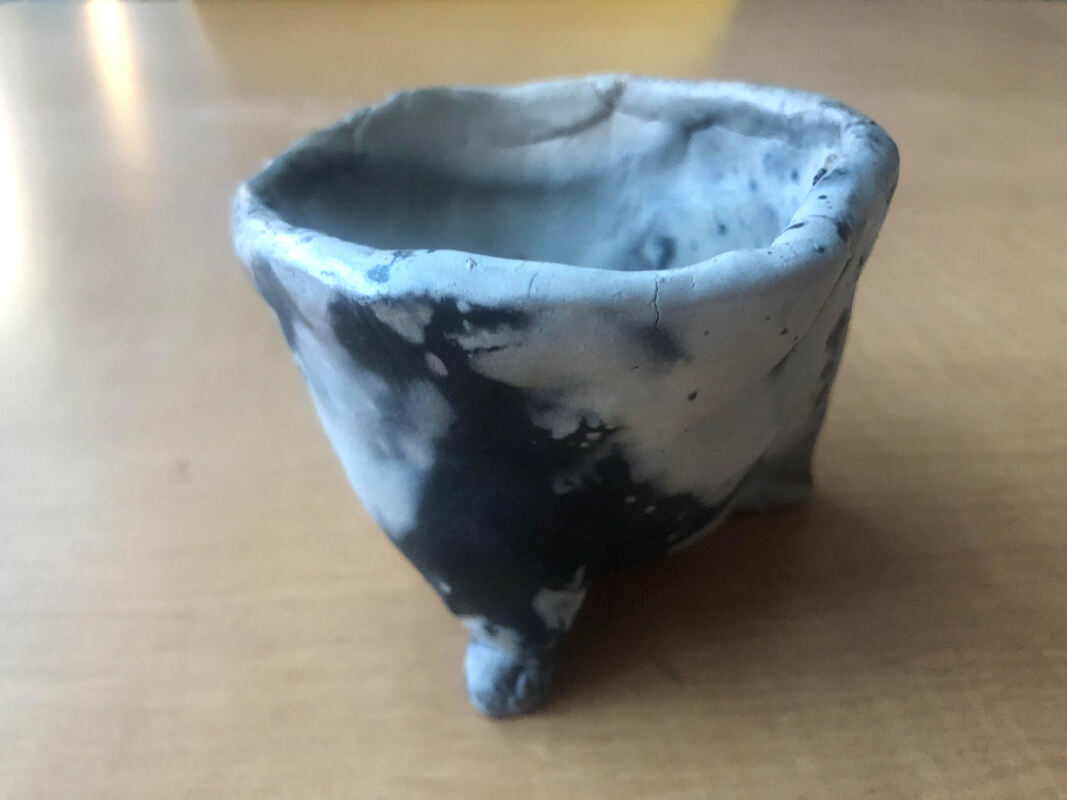
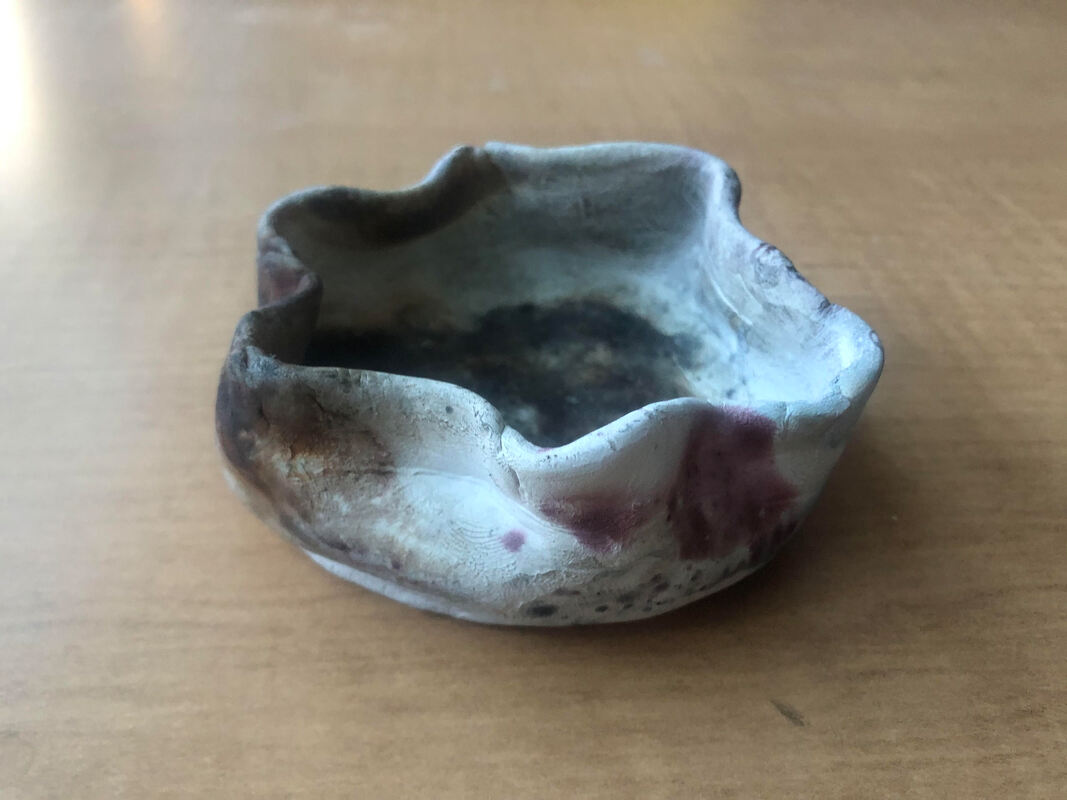
1.)To do this project I bought a cheap woodburning tool kit and grabbed some wood. I used a picture of Naraku from Inuyasha as a reference. I drew the image onto the wood and burnt it. 2.) I did the project entirely by myself. It was really fun to draw and then watch how the lines burnt in. 3.) I completely destroyed my original piece, and in sheer panic grabbed a piece of wood I was gonna paint and began improvising. I printed off a reference picture, traced it, transferred it and began burning. 4.) Installation Art is an art style that is designed to transform the perception of a space. Finished Pit Fire Pieces, from left to right: Bowls Top View, Bowls Side View, Bowls Bottom View, Tripod Mug Side View, Star Bowl Side View.
|
Pit Fire Pieces - Finished:
1.) Pit firing pottery is a fairly simple process. First dig a pit, then take the piece(s) you wish to fire and wrap them in organic materials. These will burn away and leave different colors on your piece(s). Then, cover the bottom of the pit with sawdust, and place your piece(s) in carefully. Spray them with either Copper Carbonate (Cu2O3) and/or Ferric Chloride (FeCl3). This brings out the color from the burned items, as well as leaves their own. Cover the pit with flammable materials, and light the fire. After a while of burning, cover the pit to decrease the oxygen. After all of this, take out your piece(s) and clean them off, before sealing them with wax, glaze, etc. 2.) I think my pieces came out looking very unique, and natural. They were smaller than most of the other pieces, and had very natural looking cracks. If I were to do this again, I wouldn't make a tripod mug, as it came out looking weird and awkward. I also would try and make my pieces bigger. 3.) I used dried herbs from my herb collection, Himalayan salt, wood pieces, sawdust, and ferric chloride. This gave my pieces blacks, grays, browns and reds. |
Pit Fire Pieces
The process I used was very simple. I made a tripod mug without a handle and then I made a small coil bowl.
Honestly the whole thing was difficult. I really didn't want to make a piece for anything on the wheel and I detest coiling, but it was easier then the wheel or making another tripod mug.
My design is simple, I'll add items that burn in nice reds, pinks and yellows for one and items that burn in blues, greens and purples.
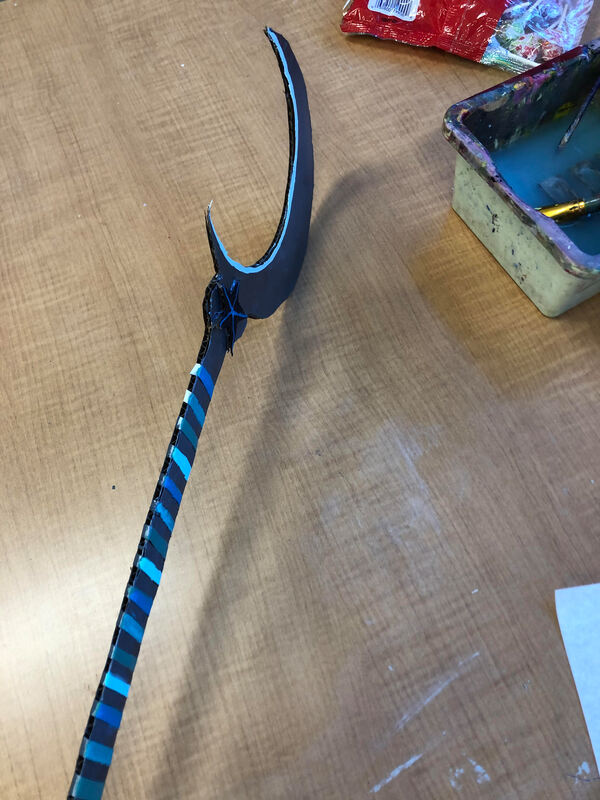
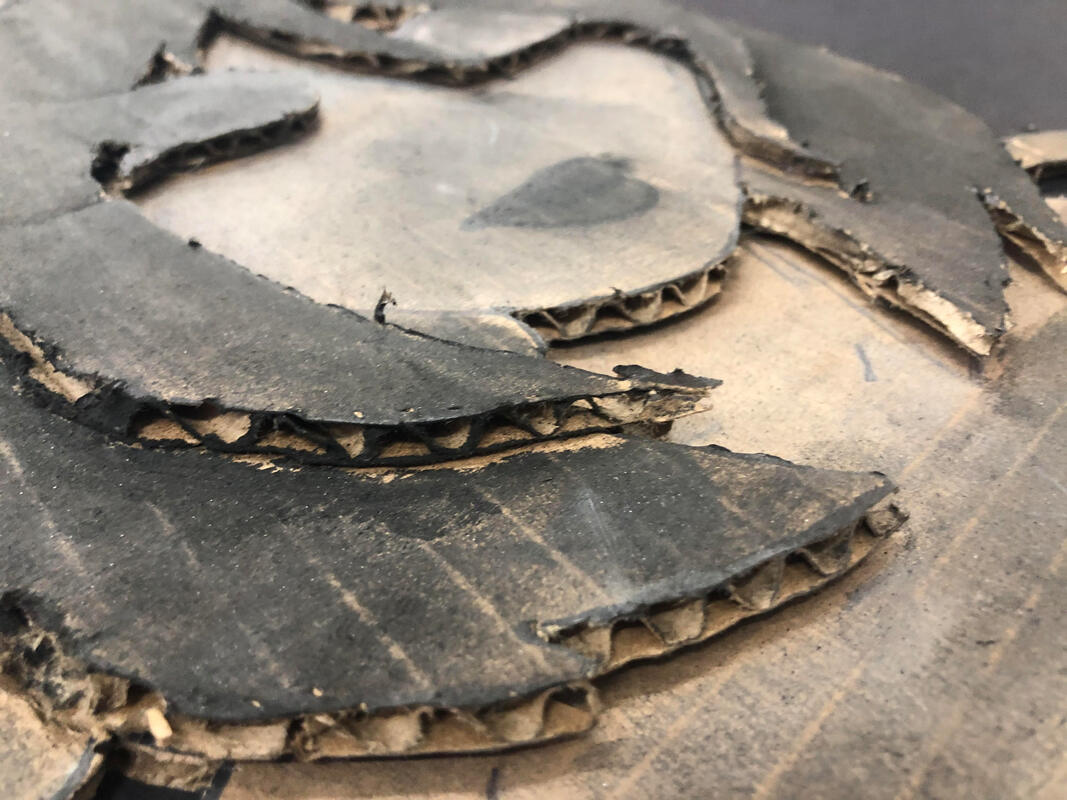
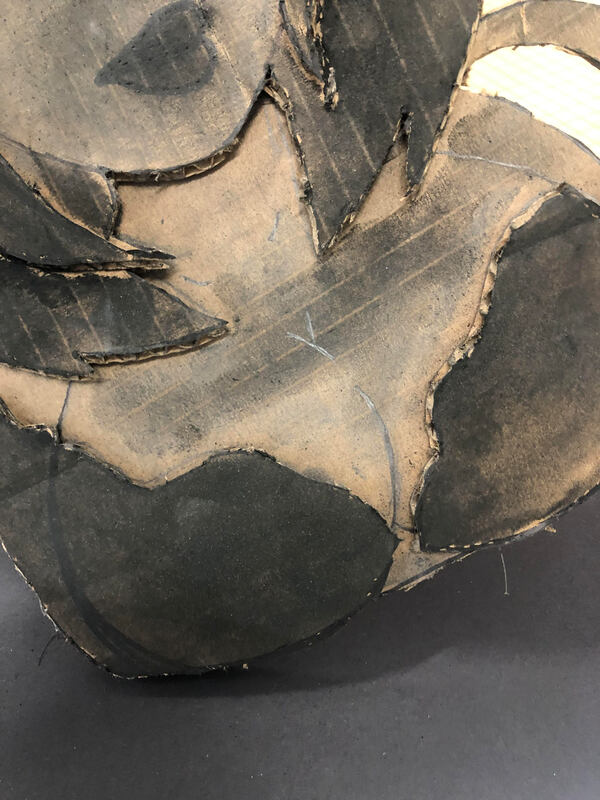
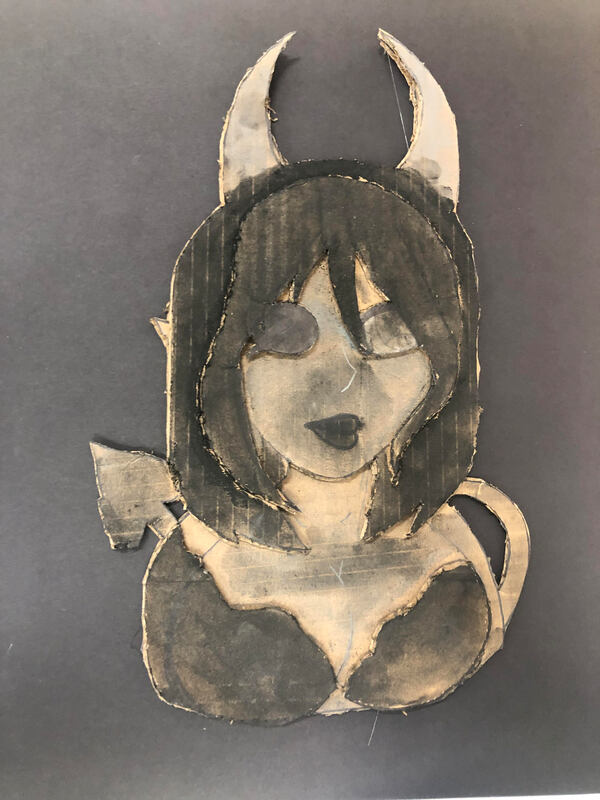
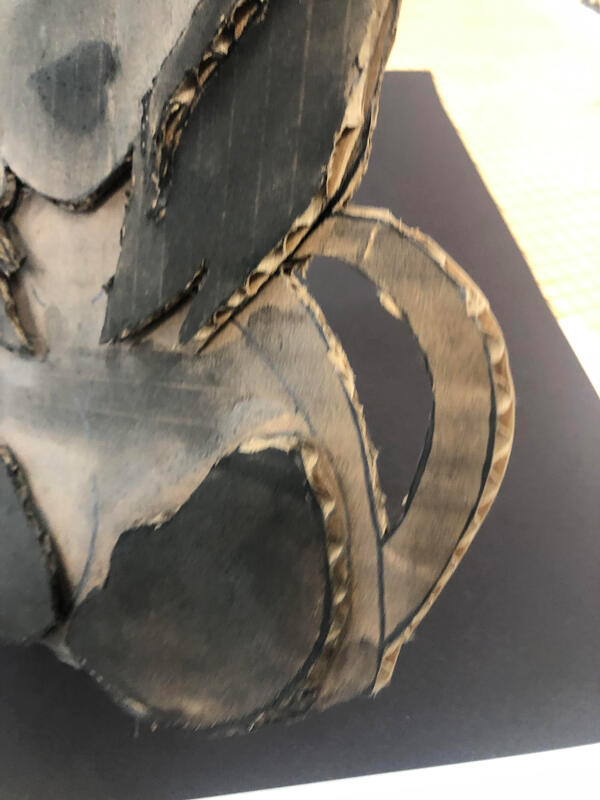
Paper Statue (In Progress):
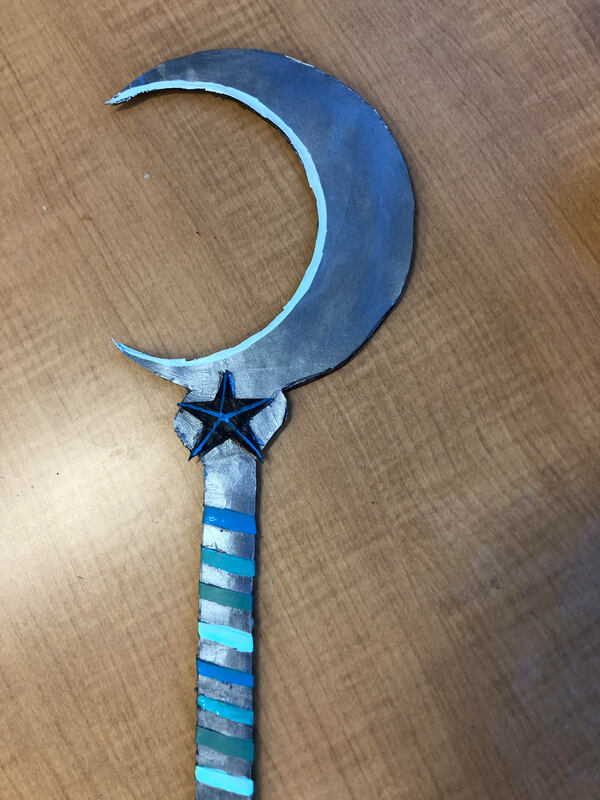
My project is a small scale staff, based off the one my D&D character "Asha" uses. It's a sterling silver and platinum staff, with a crescent shaped blade. On the top of the handle is a dark blue crystalline star, and mineral strands coiling around the handle, made of brilliant blues.
My project is a small scale staff, based off the one my D&D character "Asha" uses. It's a sterling silver and platinum staff, with a crescent shaped blade. On the top of the handle is a dark blue crystalline star, and mineral strands coiling around the handle, made of brilliant blues.
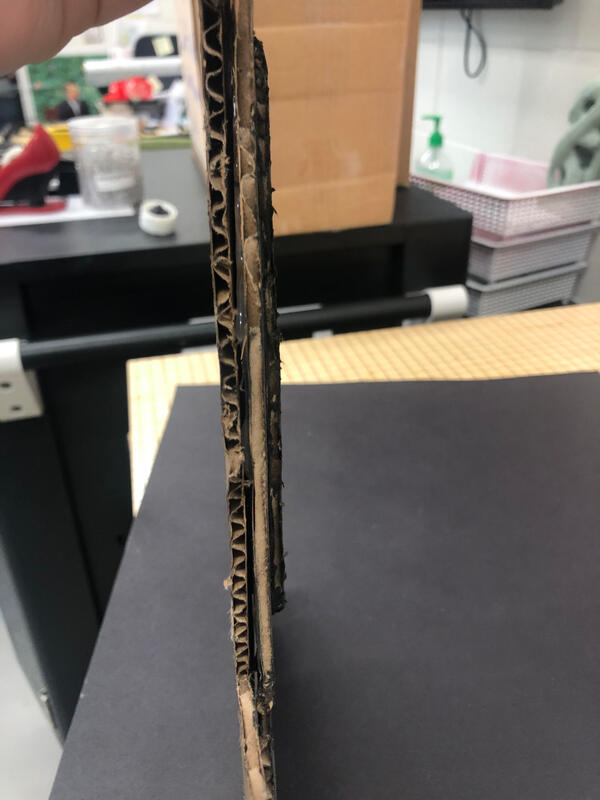
Frame Project:
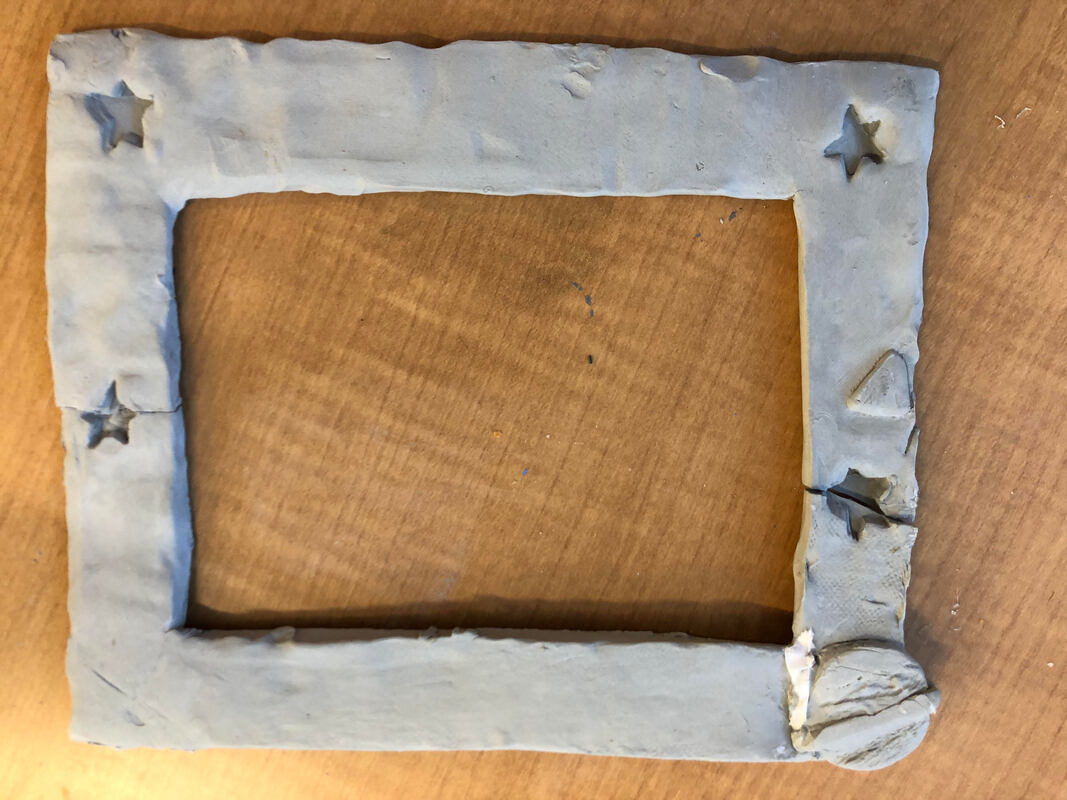
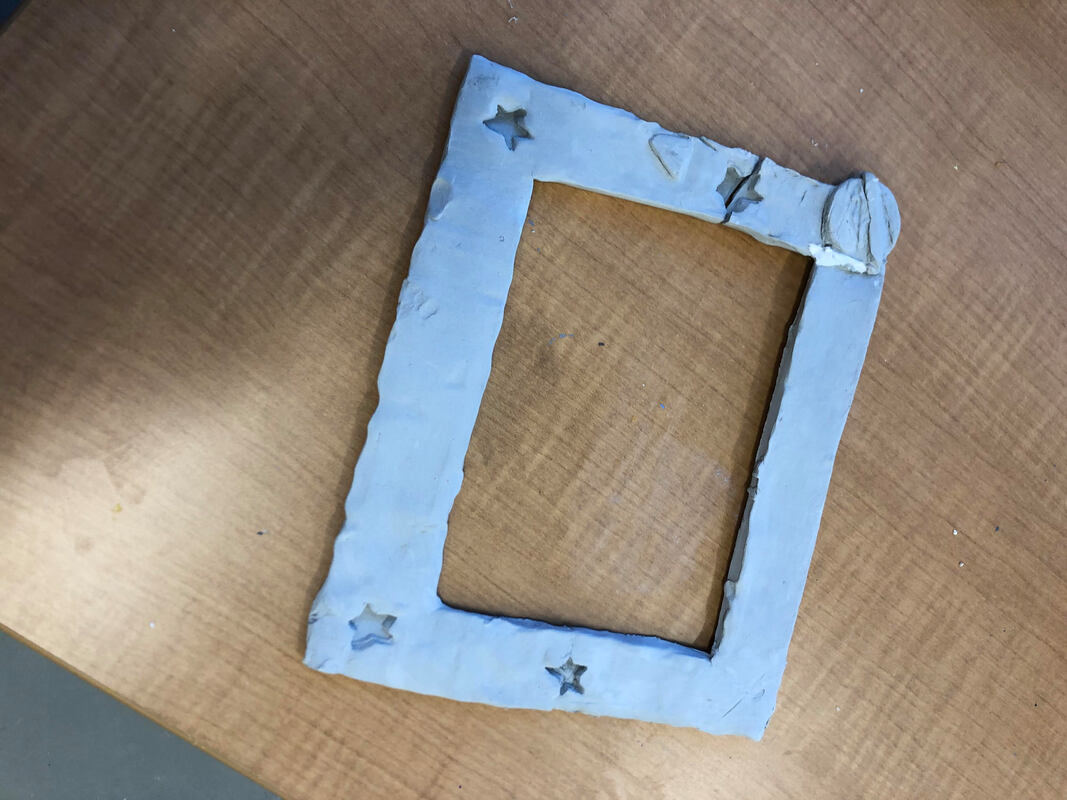
My theme for this piece was "Space". I tried to make it obvious by adding stars and a small Saturn. I'm hoping to add "Out of this world!" on the top, and a small crescent moon at the bottom.
My theme for this piece was "Space". I tried to make it obvious by adding stars and a small Saturn. I'm hoping to add "Out of this world!" on the top, and a small crescent moon at the bottom.